Product photography will make or break your online store. It is one of the most critical aspects that will make all the difference between zero sales and having to stock up constantly!
It will take time and many tests before you figure out the style that fits your products the most.
In this post we will focus on the main aspects of proper product photography that will lay a strong foundation to your future experiments!
Understanding Product Photography Basics
When it comes to taking great product shots for your handmade jewelry, there are a few basic principles you should keep in mind.
Lighting
Lighting is one of the most important factors in product photography. You want to make sure your jewelry is well-lit and free from harsh shadows.
Natural light is often the best choice, but if you’re shooting indoors, you can use a lightbox or softbox to diffuse the light and create a more even lighting situation.
PRO TIP
Rish Bhandari, Founder and CEO of Content Beta, a productized design company, recommends the lights:
LED Floor Lamp (TOP PICK) — great if you have the space and will help you stand out. If budget allows, two lamps (one to fill the background) are the best option.
Clip On Lamp — also great if you have limited budget and floor space.
Composition
You want to make sure your jewelry is the focal point of the shot, so use the rule of thirds to position it in the frame.
Experiment with different angles and perspectives to create more dynamic shots.
Equipment
While you don’t need a lot of fancy equipment to take great product shots, there are a few things that can make the process easier.
- A tripod can help keep your camera steady, while a remote shutter release can help you avoid camera shake.
- You may also want to invest in a macro lens if you’re shooting small details on your jewelry.
By keeping these product photography basics in mind, you can take great shots of your handmade jewelry that will showcase its beauty and craftsmanship.
Setting Up Your Photography Space
When it comes to taking great product shots for your handmade jewelry, setting up a photography space is crucial.
With the right location, lighting, and backgrounds, you can create stunning images that showcase your jewelry in the best possible way.
Choosing the Right Location
When selecting a location for your photography space, look for a spot with plenty of natural light.
Avoid areas with harsh shadows or direct sunlight, as this can create unwanted glare and reflections in your photos.
You can also consider setting up near a window or using a light tent to diffuse the light and create a soft, even glow.
Lighting Essentials for Jewelry Shots
Lighting is one of the most important factors in creating beautiful product shots. To achieve the best results use a combination of natural and artificial lighting.
Position your jewelry near a window to capture natural light, and use a reflector or white foam board to bounce light back onto your jewelry and eliminate shadows.
For artificial lighting, consider investing in a lightbox or light tent. These tools diffuse light and create a soft, even glow that is ideal for jewelry photography.
You can also use a ring light or softbox to add additional light and create a professional look.
Selecting Backgrounds and Props
Choose a background that compliments your jewelry and enhances its beauty.
Consider using a simple white or black background to make your jewelry stand out, or experiment with colored backgrounds to create a unique look.
When it comes to props, less is often more.
Use simple props like jewelry boxes or display stands to showcase your jewelry and add visual interest to your photos.
Avoid using props that are too busy or distracting, as this can take the focus away from your jewelry.
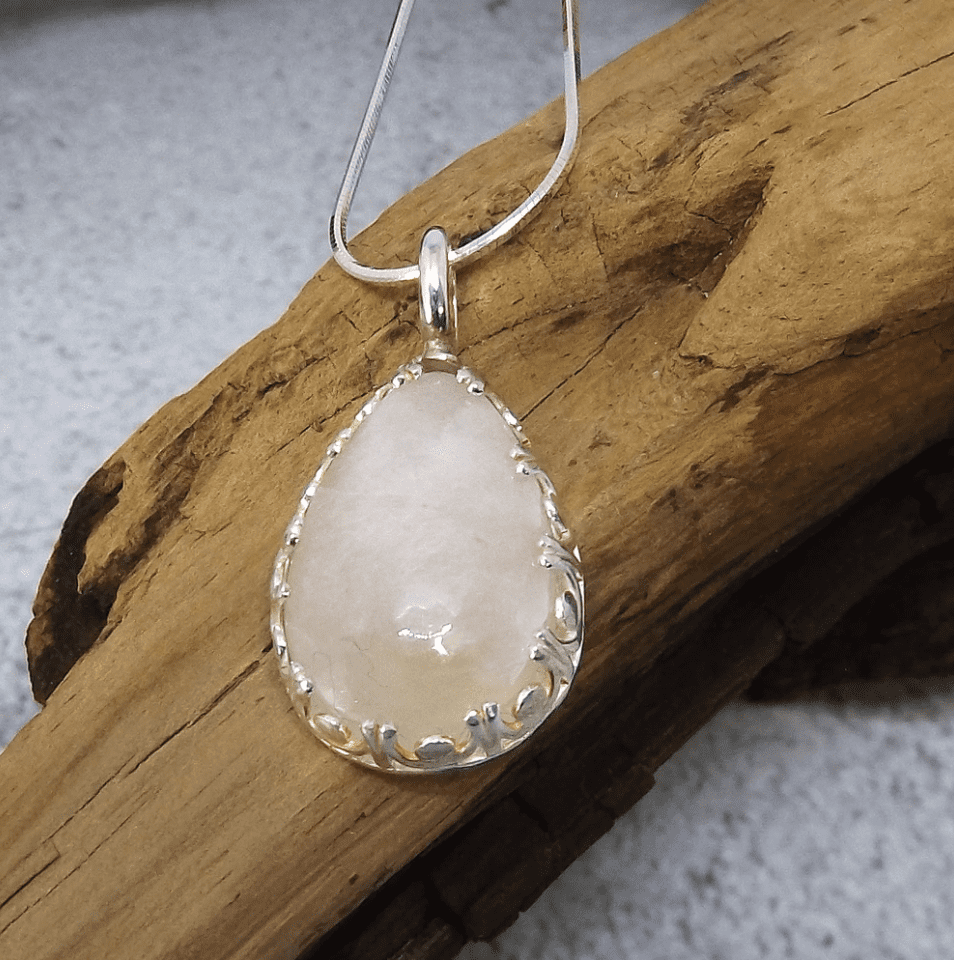
Note how the driftwood in the photo below from Eluna Jewelry adds interest without overwhelming the pendant itself.
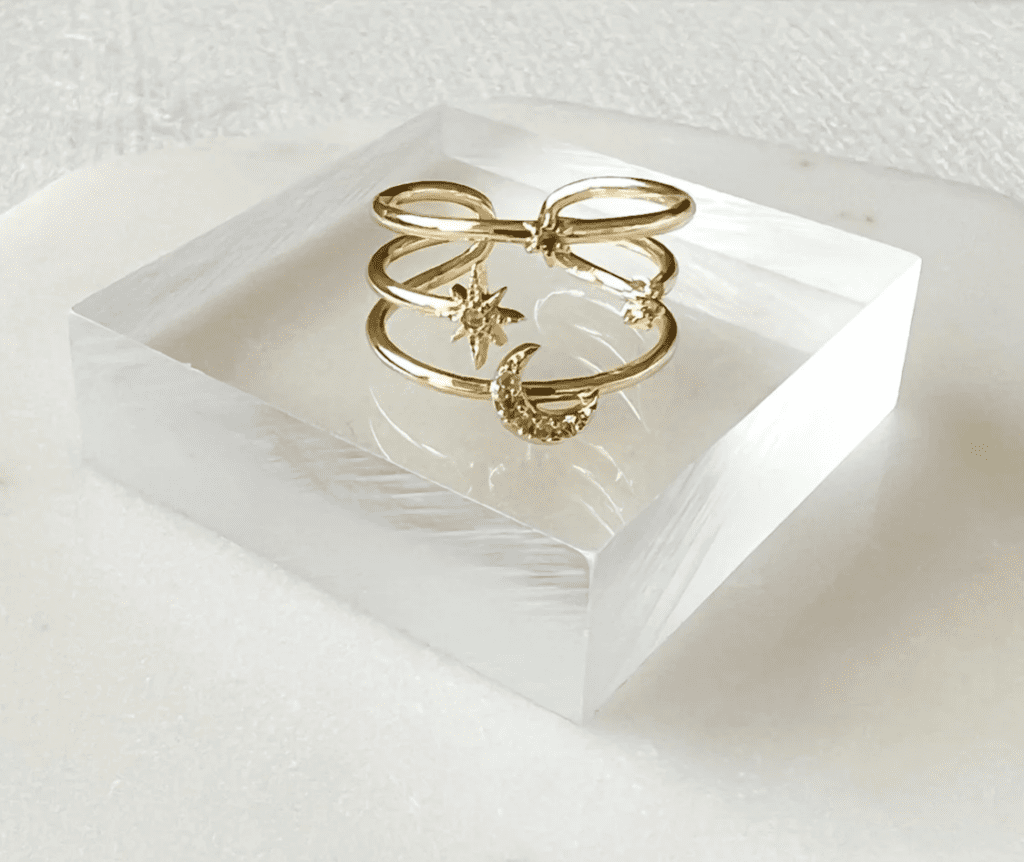
The stand in the photo from The Songbird Collection adds depth to the image with the reflection from the jewelry, highlighting one of the ring’s most important features.
Camera and Equipment Guidelines
Choosing the Right Camera
While a smartphone camera may suffice for some, investing in a high-quality digital camera can significantly improve the overall quality of your images.
Look for a camera with a high resolution, good autofocus, and the ability to shoot in manual mode for greater control over your settings.
Using Tripods for Stability
Even the slightest movement can blur your images, so it’s essential to use a tripod to keep your camera steady.
Look for a tripod that is sturdy and adjustable with a head that can be tilted and rotated to help you capture the perfect angle.
Essential Photography Accessories
In addition to a high-quality camera and tripod, there are a few other essential accessories that can help you take great product shots.
A remote shutter release can help you avoid camera shake when taking photos, while a reflector can help you control the lighting and highlight the best features of your jewelry.
Finally, consider investing in a macro lens to capture the intricate details of your handmade pieces up close.
Composition and Styling Techniques
When it comes to taking great product shots for your handmade jewelry, composition and styling are key.
Arranging Jewelry Pieces
When arranging your jewelry pieces for a photo shoot, consider the following:
- Group similar pieces together to create a cohesive look.
- Experiment with different angles and arrangements to find the most visually interesting composition.
- Use props sparingly to add interest without distracting from the jewelry itself.
Utilizing Negative Space
Negative space refers to the empty space around your jewelry in a photo. Utilizing negative space can help draw the viewer’s eye to the jewelry itself.
- Use a plain, solid-colored background to create a clean, uncluttered look.
- Experiment with different amounts of negative space to find the most visually appealing balance.
- Use negative space to create a sense of movement or direction in your photo.
Incorporating Color Theory
- Consider the colors of your jewelry and choose a background that complements them.
- Use contrasting colors to create visual interest and draw the viewer’s eye to the jewelry.
- Experiment with different color combinations to find the most visually appealing result.
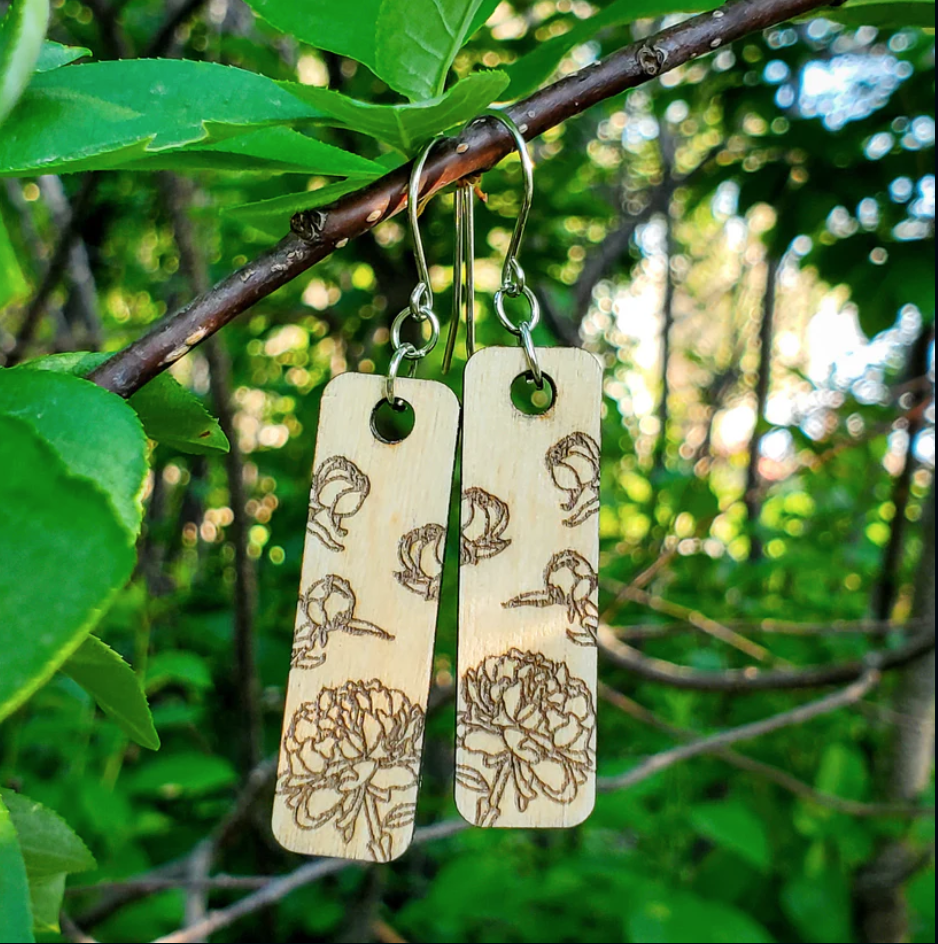
Note the nature motif in the earrings and background in the image from A Farm Girl By Tess.
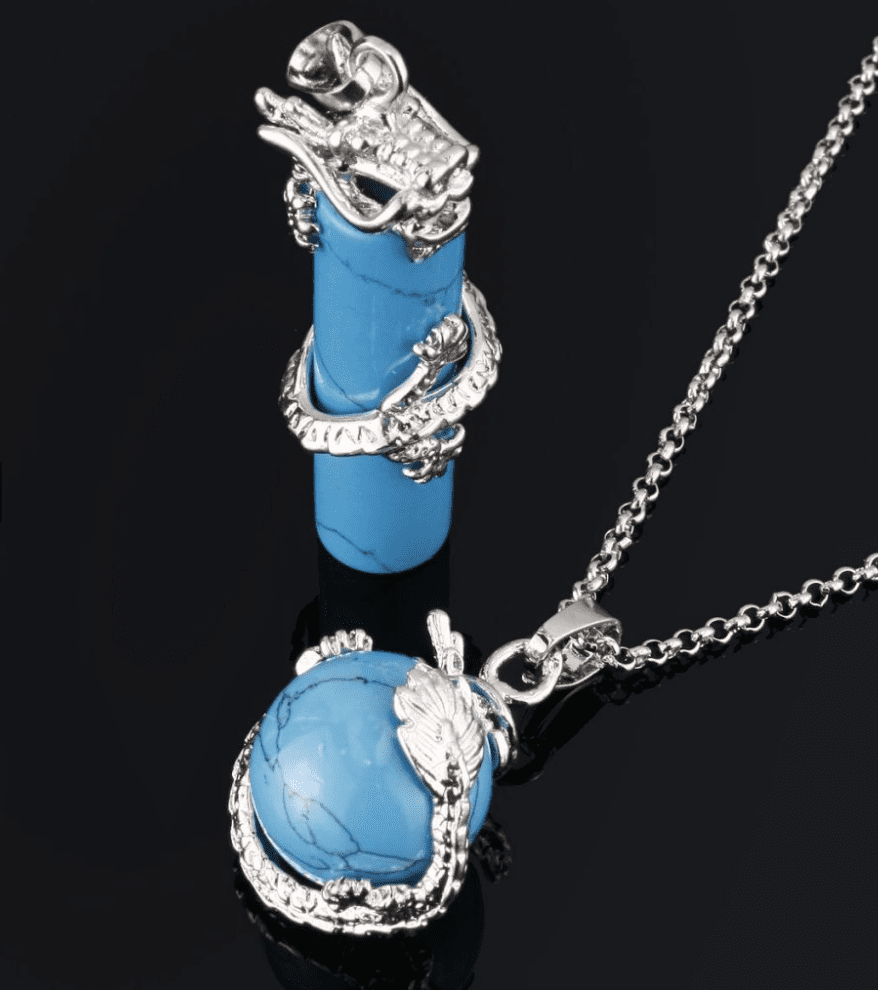
And, the contrast is strong in this product image from Beadnova.com.
Capturing the Perfect Shot
Taking great product shots of your handmade jewelry is essential to showcase your work in the best possible way.
Focusing on Details
When taking product shots, it’s important to focus on the details of your handmade jewelry.
Use a macro lens or the macro setting on your camera to capture the intricate details of your jewelry.
Make sure that the focus is sharp and the details are clear.
Adjusting Camera Settings
Adjusting your camera settings can make a big difference in the quality of your product shots.
Use a low ISO setting to reduce noise and increase image quality.
Adjust the aperture to control the depth of field and highlight specific details of your jewelry.
Use a tripod to keep your camera steady and reduce camera shake.
Experimenting with Angles
Try shooting from different heights, angles, and distances to find the best angle to showcase your jewelry. Use props or a plain background to create contrast and highlight the details of your jewelry.
By focusing on the details, adjusting camera settings, and experimenting with angles, you can take great product shots of your handmade jewelry that will showcase your work in the best possible way.
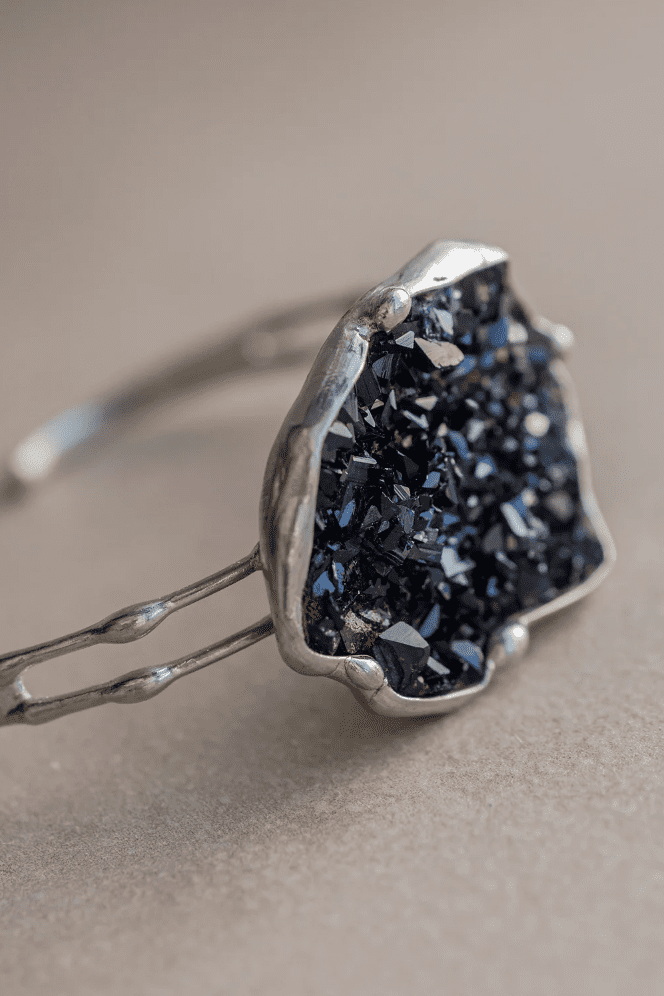
The texture of the stone in this ring from Nella & Sina would be lost in a shot from a longer distance. The oblique angle also highlights the facets.
Post-Production Editing
After taking your product shots, it’s time to edit them to make them stand out. Post-production editing can help enhance the colors, brightness, and contrast of your images to make them look more appealing to potential customers.
Basic Photo Editing Steps
- Crop your images to remove any unwanted elements and focus on the jewelry.
- Adjust the brightness and contrast to make the jewelry stand out.
- Adjust the color balance to ensure that the colors are accurate and vibrant.
- Sharpen the image to make the jewelry details pop.
Retouching Jewelry Photos
- Remove any dust or scratches from the jewelry using the healing brush tool.
- Smooth out any rough edges or blemishes using the clone stamp tool.
- Enhance the jewelry’s shine and luster using the dodge and burn tools.
Conclusion
The main point is that product photos will make or break your business. Particularly in jewelry, it is all about proper presentation, so make sure that your products look desirable and expensive.
All of that can be achieved with proper product photography. It may take you a couple of iterations to get the desired results, but that is the only way your products are going to sell, so put a lot of thought into it, and don’t be afraid to experiment a bit.