
Instagram
How to Post Seamless Instagram Carousels with Tailwind to Boost Engagement
It’s finally here! If you’ve been looking for a seamless Instagram carousel app that will allow you to pre-plan and share photos in ‘Multiple Image’
It’s finally here! If you’ve been looking for a seamless Instagram carousel app that will allow you to pre-plan and share photos in ‘Multiple Image’
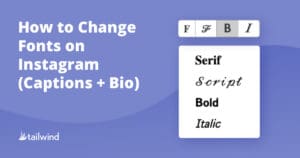
Learn how to easily change the font on Instagram posts, bios, and stories to boost engagement and sales. Find out the best fonts to use for teasing key points, triggering emotions, and promoting events. With Tailwind’s Instagram font changer tool, make your captions stand out and grab your reader’s attention!

Learn how to easily create a row-by-row Instagram theme with three pictures in a row. Our tutorial covers image splitting, upload tips, and more using the Tailwind app. Start making your Instagram more follow-worthy today!

Easily split one photo into multiple on Instagram with these top free tools. Improve your feed’s aesthetic with a bold, cohesive design. From simple apps to advanced desktop options, find the perfect tool for your needs. Plus, learn how to schedule your split photos for hassle-free posting on Tailwind!

I sat down with the co-owners of Duo Collective and real-life besties Abbey Oslin and Courtney Peterson to talk about starting a business together, and

Discover the do’s and don’ts of reposting on Instagram as a brand or creator. Find out why it’s a powerful marketing strategy, how to do it legally and ethically, and learn the time-saving benefits of using the Tailwind app browser extension.
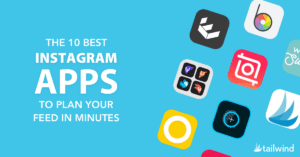
Discover the top 10 must-have apps for planning and creating eye-catching Instagram content. From design tools to photo and video editing, these apps will take your social media game to the next level. Find out which app is perfect for your needs and create professional-looking graphics for your feed. Watch our FB Live recap and see how these apps make it easy to plan and post stunning visual content on Instagram!
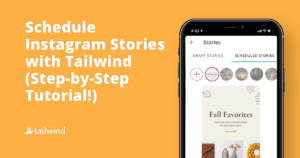
Social media marketers, rejoice: planning and scheduling Instagram Stories content just got a lot easier with Tailwind App. In fact, it’s so easy, you can
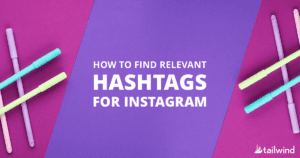
Discover the best strategies for finding relevant hashtags on Instagram to increase engagement and reach for your posts. Learn from competitor research, niche hashtags, local searches, and branded hashtags. Save time with tools like Tailwind’s Hashtag Finder and Lists.

On the hunt for an easy-to-use, comprehensive desktop Instagram planner to perfect your Instagram feed? You’ve come to the right place! Take a look at
Start with a forever-free plan. No credit card required.

