Design
2022 Design Trends for Social Media
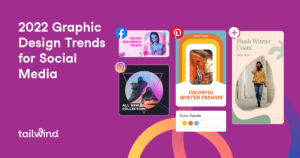
Stay ahead of the curve and elevate your social media designs with these top 2022 design trends. From color palettes to patterns and typography, our Tailwind Create templates make it easy to incorporate these must-know trends into your brand. Don’t miss out, try them now!