In this lesson you'll learn:
Imagine effortlessly sharing detailed product information, real-time pricing, and enticing recipe ingredients directly on your Pinterest Pins. This is where Rich Pins come in, acting like mini-websites within each Pin, providing valuable context that can significantly boost engagement and drive traffic to your site! They are the key to transforming casual browsers into loyal customers.
Rich Pins are enhanced Pins that automatically sync information from your website to Pinterest. Think of them as souped-up versions of regular Pins, displaying extra details that provide context and encourage interaction. This dynamic connection ensures your Pins stay up-to-date, reflecting any changes made on your site – pretty neat, right?
There are four types of Rich Pins, each catering to different content:
⚡ Fast fact:
Though there are 4 types of Rich Pins, App Pins are only available for iOS.


Rich Pins offer a multitude of benefits for small businesses, enhancing both visibility and engagement on Pinterest. Here's how they can help:

📈 Quick stat:
Businesses using Rich Pins often see a higher return on ad spend and increased traffic to their websites.
Setting up Rich Pins might sound technical, but it's a straightforward process. Here's a simplified step-by-step guide:

🔍 Did you know?:
Adding metadata might sound intimidating, but it involves using either Open Graph or Schema.org markup, both of which are standard web protocols.
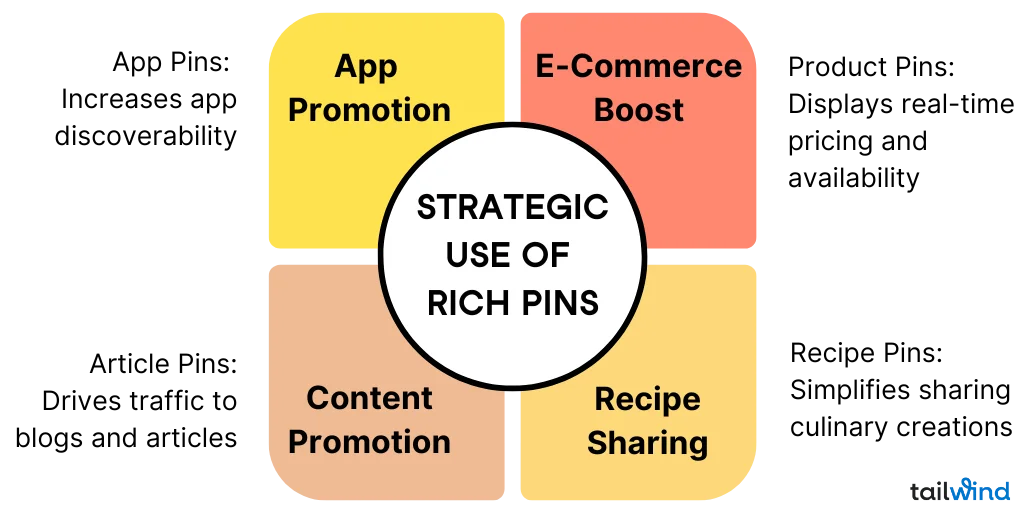
Knowing when and why to use Rich Pins is crucial for maximizing their impact. Here are some scenarios where Rich Pins can be particularly effective:
💬 Expert quote:
Kevin Lorenz, a Pinterest marketing expert, emphasizes, "Rich Pins are a game-changer for businesses. They provide more context, leading to higher engagement and conversion rates."
To truly leverage the power of Rich Pins, your content needs to be both attractive and informative. Here are some tips:

Rich Pins provide a seamless bridge between discovery and action. By enriching your Pins with valuable, real-time information, you enhance the user experience and create a more compelling reason for users to engage with your content and, ultimately, your business.
Key takeaways:


